import face_recognition import cv2 import numpy as np import sys
# Load the video for face recognition video_path = str(sys.argv[1]) video_capture = cv2.VideoCapture(video_path)
# Load a sample picture and learn how to recognize it. obama_image = face_recognition.load_image_file("obama.jpg") obama_face_encoding = face_recognition.face_encodings(obama_image)[0]
# Load a second sample picture and learn how to recognize it. biden_image = face_recognition.load_image_file("biden.jpg") biden_face_encoding = face_recognition.face_encodings(biden_image)[0]
# Create arrays of known face encodings and their names known_face_encodings = [ obama_face_encoding, biden_face_encoding ] known_face_names = [ "Barack Obama", "Joe Biden" ]
whileTrue: # Grab a single frame of video ret, frame = video_capture.read()
# Convert the image from BGR color (which OpenCV uses) to RGB color (which face_recognition uses) rgb_frame = frame[:, :, ::-1]
# Only process every other frame of video to save time if process_this_frame: # Find all the faces and face encodings in the current frame of video face_locations = face_recognition.face_locations(rgb_frame) face_encodings = face_recognition.face_encodings(rgb_frame, face_locations)
face_names = [] for face_encoding in face_encodings: # See if the face is a match for the known face(s) matches = face_recognition.compare_faces(known_face_encodings, face_encoding) name = "Unknown" # use the known face with the smallest distance to the new face face_distances = face_recognition.face_distance(known_face_encodings, face_encoding) best_match_index = np.argmin(face_distances) if matches[best_match_index]: name = known_face_names[best_match_index] face_names.append(name)
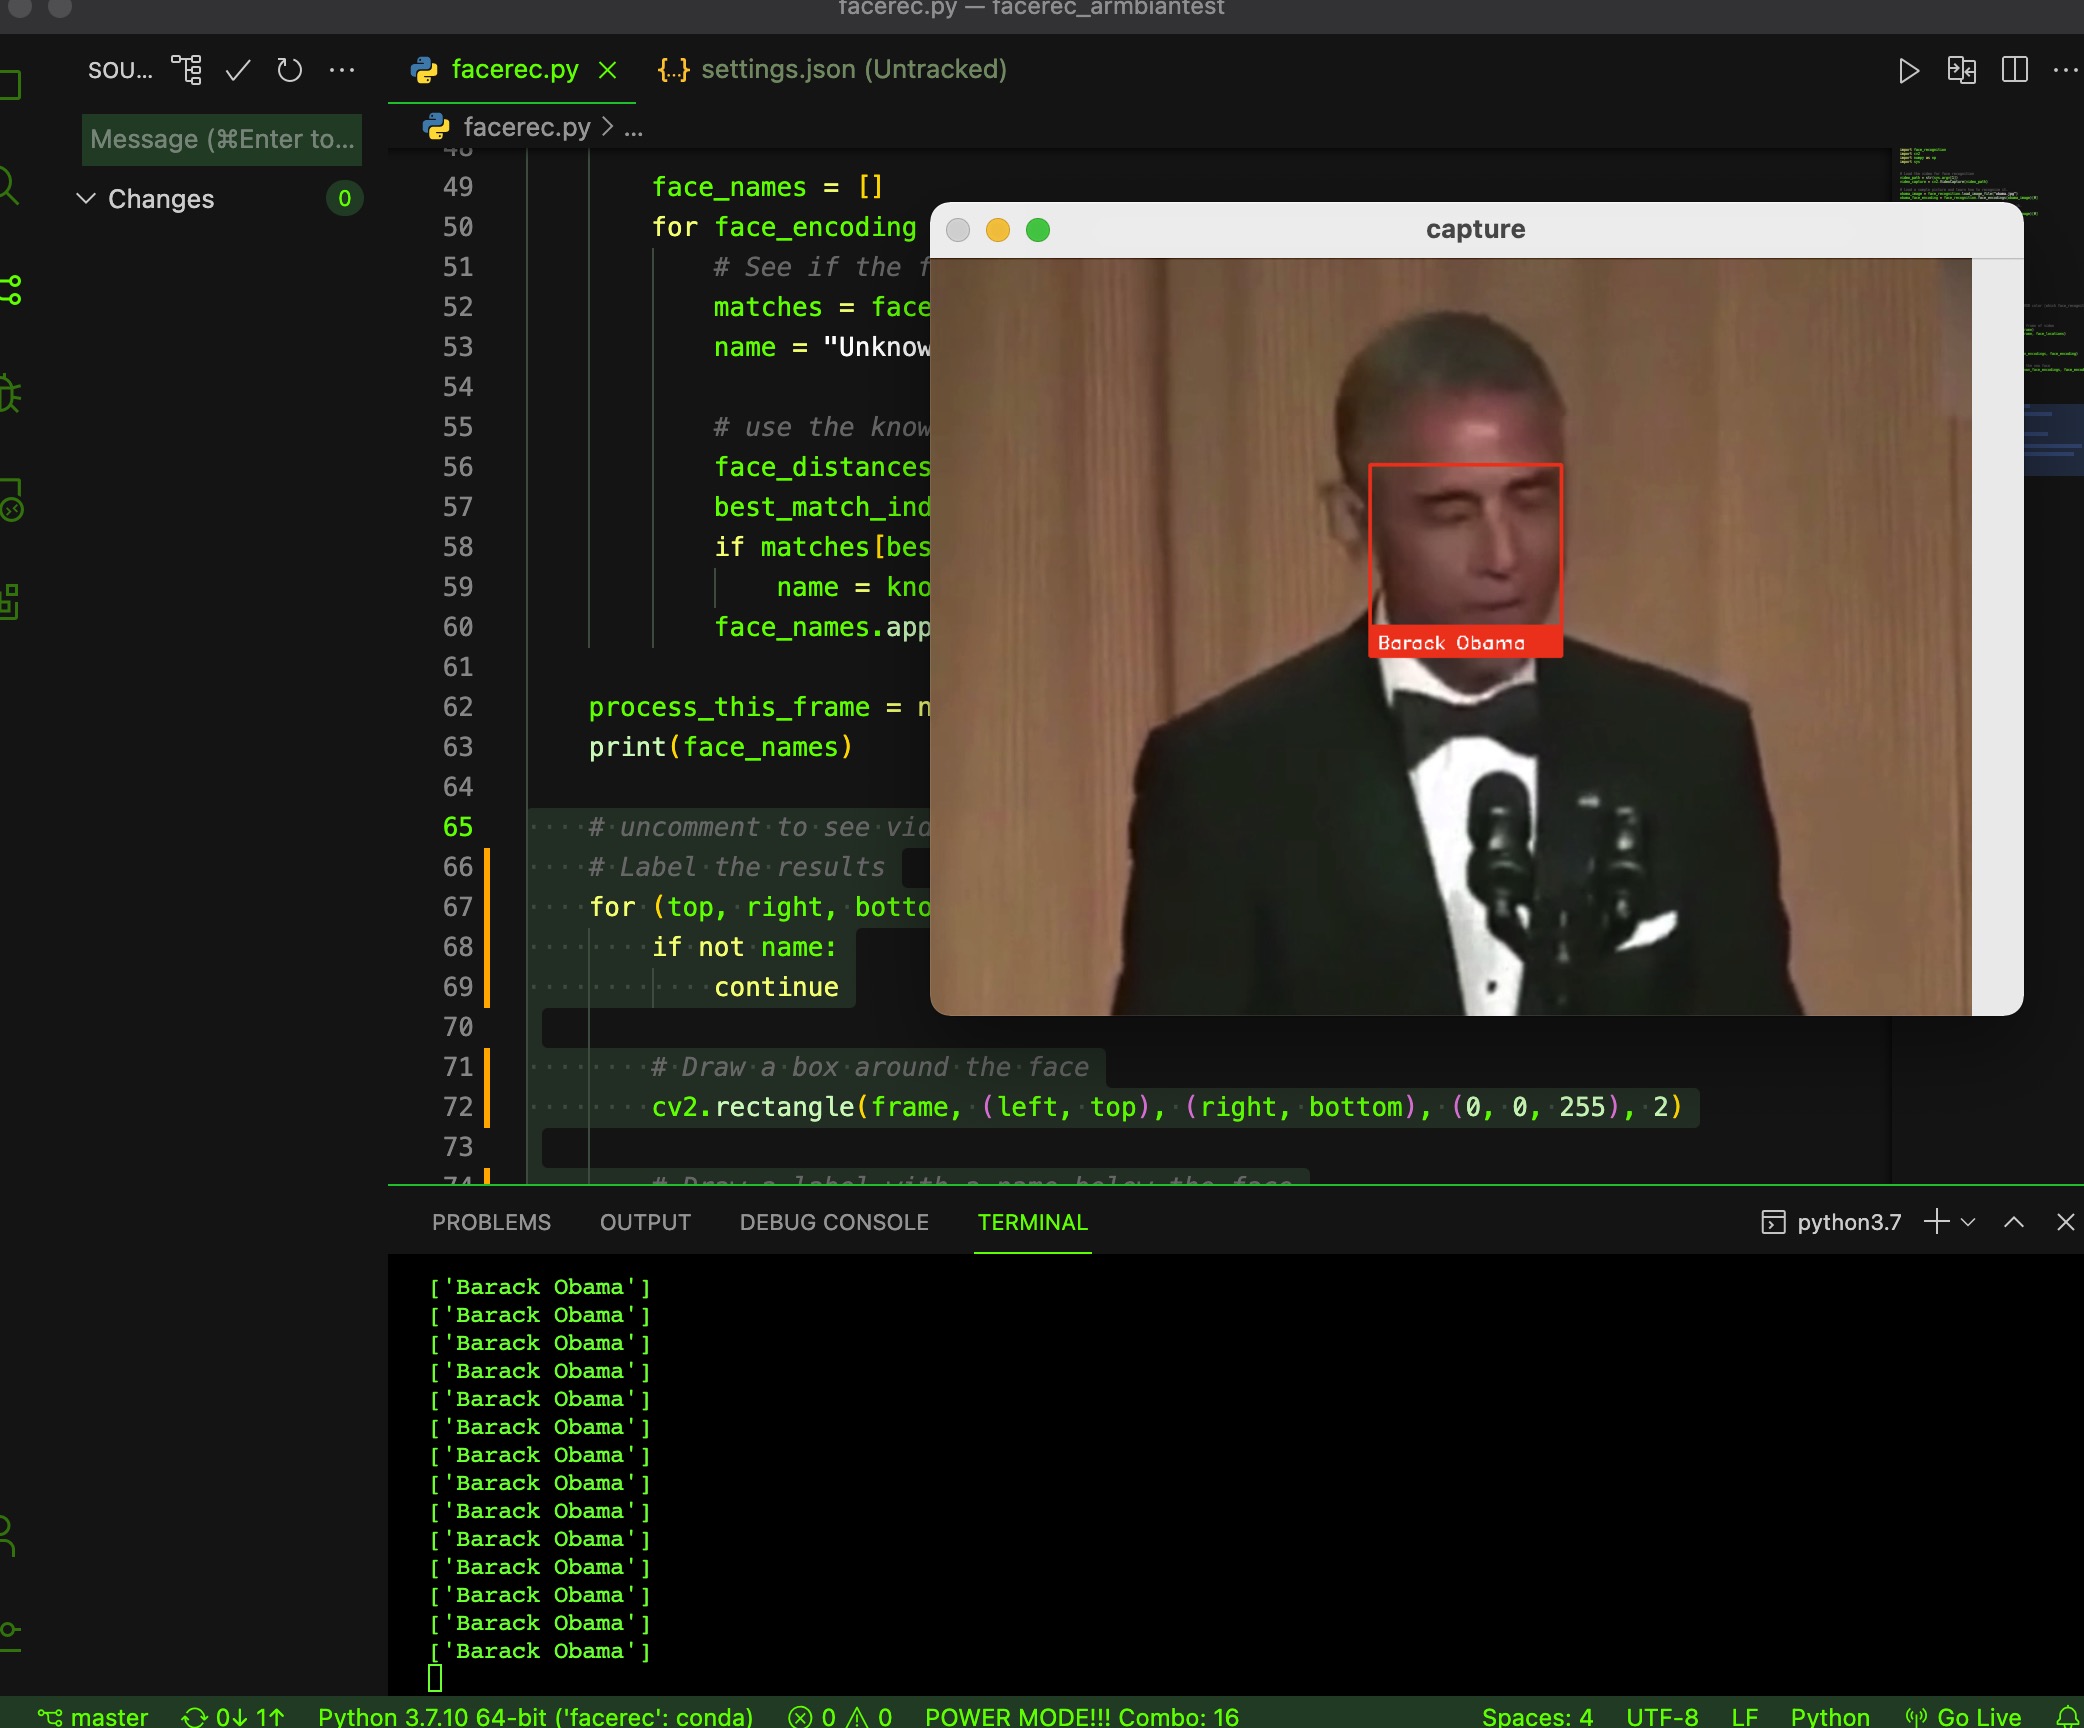
process_this_frame = not process_this_frame print(face_names)
# Release handle to the webcam video_capture.release() cv2.destroyAllWindows()
经测试orangepi pc plus的算力还是有限,一小段视频都需要好几分钟才能跑完,为减少时间开销去掉了显示图片的过程,全部使用命令行的方式输出结果,效果如下所示: