在Creo工程图出图过程中,常需要手动添加草绘的方式添加诸如中心线等内容。本文介绍如何在绘图中通过二次开发快速添加圆弧中心线。

1.圆弧信息

1.1 圆弧对象的获取

Toolkit中使用ProGeomitem这个结构体用于表述几何对象,根据官方文件,ProGeomitem主要包含以下类型:

ProGeomitem types are as follows:
• ProSurface—Surface, datum surface, or datum plane
• ProEdge—Edge
• ProCurve—Datum curve
• ProCompcrv—Composite datum curve
• ProQuilt—Quilt
• ProAxis—Axis
• ProPoint—Datum point
• ProCsys—Datum coordinate system

ProGeomitem定义为一个结构体类型:

1
2
3
4
5
6
typedef struct pro_model_item
{
ProType type;
int id;
ProMdl owner;
} ProModelitem, ProGeomitem, ProExtobj, ProFeature, ProProcstep, ProSimprep, ProExpldstate, ProLayer, ProDimension, ProDtlnote, ProDtlsyminst, ProGtol, ProCompdisp, ProDwgtable, ProNote, ProAnnotationElem, ProAnnotation, ProAnnotationPlane, ProSymbol, ProSurfFinish, ProMechItem, ProMaterialItem, ProCombstate, ProLayerstate;

由于ProGeomitem与ProModelitem为同一结构体类型,故可以通过ProSelect选取的方式获得:

1
2
status = ProSelect((char *)"edge", 1, NULL, NULL, NULL, NULL, &SelBuffer, &size);
status = ProSelectionModelitemGet(SelBuffer[0], &Modelitem);

1.2 圆弧对象的信息

Toolkit使用ProGeomitemdata表述ProGeomitem的信息,可以使用ProGeomitemdataGet函数获取:

1
status = ProGeomitemdataGet(&Modelitem, &geomitem_data);

ProGeomitemdata为如下结构体,根据obj_type判断数据为联合体中的各信息:

1
2
3
4
5
6
7
8
9
10
typedef struct geom_item_data_struct
{
ProType obj_type;
union
{
ProCurvedata *p_curve_data;
ProSurfacedata *p_surface_data;
ProCsysdata *p_csys_data;
} data;
} ProGeomitemdata;

圆弧采用ProCurvedata进行描述,定义为如下联合体:

1
2
3
4
5
6
7
8
9
10
11
12
13
14
15
typedef union ptc_curve
{
ProLinedata line;
ProArrowdata arrow;
ProArcdata arc;
ProSplinedata spline;
ProBsplinedata b_spline;
ProCircledata circle;
ProEllipsedata ellipse;
ProPointdata point;
ProPolygondata polygon;
ProTextdata text;
ProCompositeCurvedata comp_curve;
ProSurfcurvedata surf_curve;
} ProCurvedata;

联合体中各类型的数据分别根据自身特点使用对应的结构体描述,在此不在赘述,请自行查找官方文件。如果确定上一步获取的是圆弧对象,则可以通过ProArcdataGet函数获得圆弧的相关信息:

1
status = ProArcdataGet(geomitem_data->data.p_curve_data, vector1, vector2, centerinCsys, &p_start_angle, &p_end_angle, &p_radius);

描述圆弧的几何信息结构体及其官方描述如下:

1
2
3
4
5
6
7
8
9
10
typedef struct ptc_arc
{
int type;
ProVector vector1; /* First vector of the arc coordinate system*/
ProVector vector2; /* Second vector of the arc coordinate system*/
Pro3dPnt origin; /* Center of the arc coordinate system */
double start_angle; /* Starting angle (in radians) of the arc */
double end_angle; /* End angle (in radians) of the arc */
double radius; /* Radius of the arc */
} ProArcdata;

通过在绘图中手动选择对象获得圆弧信息的完整代码如下:

1
2
3
4
5
6
7
8
9
10
11
12
13
14
15
16
17
18
19
20
21
22
ProError status;
ProSelection *SelBuffer = NULL;
ProSelection Sel = NULL;
ProMdl mdl;
ProDrawing drawing;
ProView view;
int size, options = 0;
ProModelitem Modelitem;
ProGeomitemdata *geomitem_data = NULL;

ProVector vector1, vector2;
double p_start_angle, p_end_angle, p_radius;

status = ProMdlCurrentGet(&mdl);
drawing = (ProDrawing)mdl;

status = ProSelect((char *)"edge", 1, NULL, NULL, NULL, NULL, &SelBuffer, &size);
status = ProSelectionModelitemGet(SelBuffer[0], &Modelitem);
status = ProGeomitemdataGet(&Modelitem, &geomitem_data);
status = ProArcdataGet(geomitem_data->data.p_curve_data, vector1, vector2, centerinCsys, &p_start_angle, &p_end_angle, &p_radius);
/*这里添加具体操作代码*/
status = ProGeomitemdataFree(&geomitem_data);

2.坐标变换

2.1 点的描述

在Toolkit中,点的坐标用Pro3dPnt进行描述。Pro3dPnt是一个长度为3的数组,分别对应相对坐标系原点的的x、y、z的坐标:

1
typedef double  Pro3dPnt[3]; /* 3-dimensional point */

2.2 坐标系的描述

Toolkit中的使用位姿矩阵描述两个坐标系之间的关系,定义为一个4X4的数组:

1
typedef double ProMatrix[4][4];

矩阵的官方解释如下图所示:

图 位姿矩阵的描述

分析可知,(ProMatrix[3][0],ProMatrix[3][1],ProMatrix[3][2])描述坐标系原点相对参照坐标系的x、y、z的坐标,(ProMatrix[0][0],ProMatrix[0][1],ProMatrix[0][2]),(ProMatrix[1][0],ProMatrix[1][1],ProMatrix[1][2]),(ProMatrix[2][0],ProMatrix[2][1],ProMatrix[2][2])三个向量分别描述了坐标系的x、y、z三个轴相对参照坐标系的旋转方向。

有关Creo使用的各类坐标系,官方文件给出说明如下:

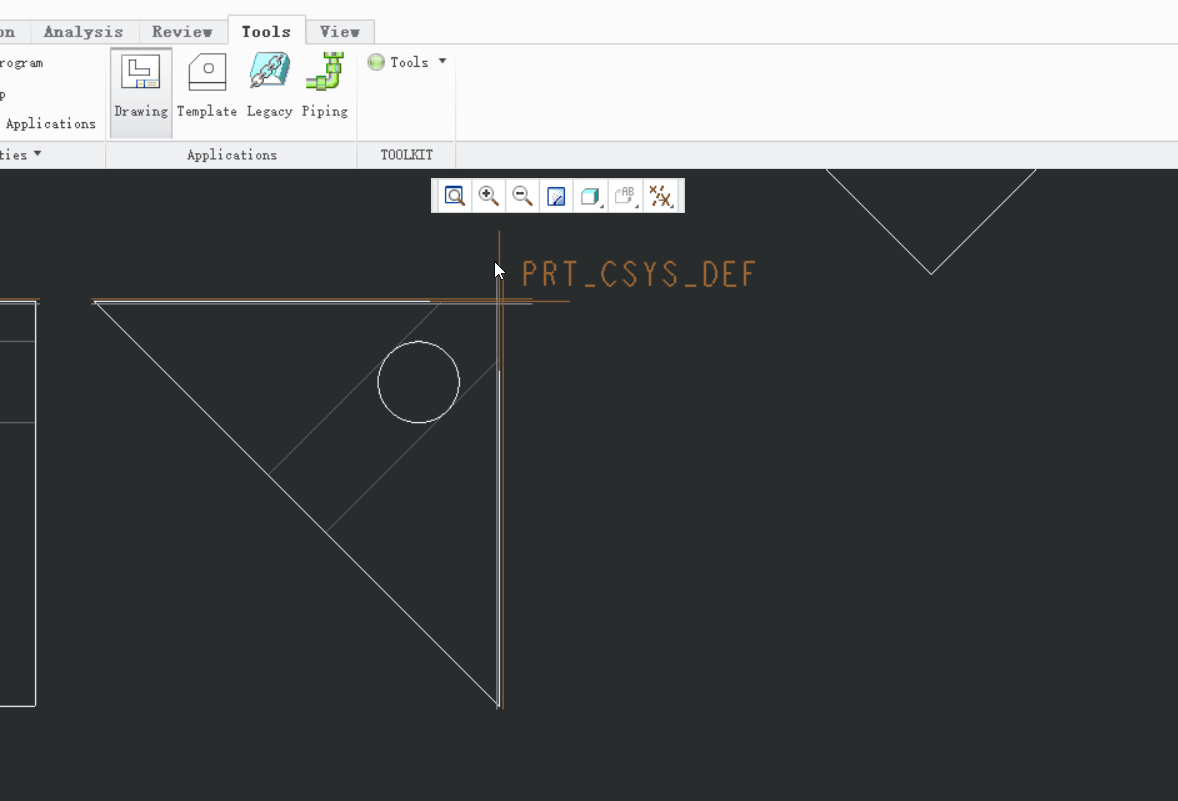
Creo Parametric and Creo Parametric TOOLKIT use the following coordinate systems:
• Solid coordinate system
• Screen coordinate system
• Window coordinate system
• Drawing coordinate system
• Drawing view coordinate system
• Assembly coordinate system
• Datum coordinate system
• Section coordinate system

2.3 坐标变换

Toolkit提供了ProViewMatrixGet、 ProWindowCurrentMatrixGet、ProDrawingViewTransformGet、ProDrawingSheetTrfGet等函数获取如如模型、窗体、绘图、视图等等之间进行坐标变换的位姿矩阵,详见官方文档。获得位姿矩阵后,ProPntTrfEval函数可以使用获得的位姿矩阵计算坐标在不同坐标系下的坐标。
使用上文的例子,将圆弧圆心坐标转化到视图坐标系下的坐标示例代码如下:

1
2
3
status = ProSelectionViewGet(SelBuffer[0], &view);
status = ProDrawingViewTransformGet(drawing, view, PRO_B_TRUE, transform);
status = ProPntTrfEval(centerinCsys, transform, centerinDrawing);

3.动态预览

如果单纯是草绘中心线,可以根据圆弧的半径直接计算画出草绘即可。考虑到本例为教程的撰写,本节说明下实现像Creo绘制草绘一样跟随鼠标实现动态预览的功能。

3.1 追踪鼠标

ProMouseTrack函数可用于获取鼠标位置和按键状态(注意位置基于绘图的坐标系),故追踪鼠标状态直接使用一个死循环直接连续调用即可,ProMouseTrack函数示例代码如下:

1
2
3
4
5
6
7
8
9
10
11
12
ProPoint3d positionmouse;
ProMouseButton expected_button = (ProMouseButton)(PRO_LEFT_BUTTON | PRO_MIDDLE_BUTTON);
ProMouseButton button_pressed;
while (1)
{
status = ProMouseTrack(options, &button_pressed, positionmouse);
if (button_pressed == PRO_LEFT_BUTTON)
break;

if (button_pressed == PRO_MIDDLE_BUTTON)
return;
}

3.2 实时预览

3.2.1 中心线坐标确定

在上一步每个循环已获取到鼠标所在的位置由于鼠标所在位置以及获取到圆心的位置均已换算到绘图坐标系下,所以可直接手动计算中心线起点终点坐标,如下图所示:

图 中心线坐标的确定

3.2.2 预览的绘制

使用ProGraphicsPenPosition函数可以确定画笔的起点,ProGraphicsLineDraw函数则绘制从ProGraphicsPenPosition函数确定起点到制定终点的直线。为便于分辨,可以通过ProGraphicsColorModify函数设定画笔颜色,故实现实时预览示例代码如下:

1
2
3
4
5
6
7
8
9
10
11
12
13
14
15
16
17
18
19
20
21
22
23
24
25
26
27
28
29
30
31
32
33
34
35
36
37
38
39
40
41
42
43
44
45
46
47
48
49
50
ProMouseButton expected_button = (ProMouseButton)(PRO_LEFT_BUTTON | PRO_MIDDLE_BUTTON);
ProMouseButton button_pressed;
ProColor Gray, OrigColor;
ProPoint3d positionmouse, positionto[4];

Gray.method = PRO_COLOR_METHOD_RGB;
Gray.value.map.red = 0.5;
Gray.value.map.green = 0.5;
Gray.value.map.blue = 0.5;

status = ProGraphicsColorModify(&Gray, &OrigColor);
while (1)
{
status = ProMouseTrack(options, &button_pressed, positionmouse);

int wid = 0;
status = ProWindowCurrentGet(&wid);
status = ProWindowRefresh(wid);

if (button_pressed == PRO_LEFT_BUTTON)//点击左键跳出循环执行后续代码
break;

if (button_pressed == PRO_MIDDLE_BUTTON)//点击中键直接返回,相当于取消
return;

positionto[0][0] = positionmouse[0];
positionto[0][1] = centerinDrawing[1];
positionto[0][2] = positionmouse[2];

positionto[1][0] = centerinDrawing[0] - (positionmouse[0] - centerinDrawing[0]);
positionto[1][1] = centerinDrawing[1];
positionto[1][2] = positionmouse[2];

ProGraphicsPenPosition(positionto[0]);
ProGraphicsLineDraw(positionto[1]);

positionto[2][0] = centerinDrawing[0];
positionto[2][1] = positionmouse[1];
positionto[2][2] = positionmouse[2];

positionto[3][0] = centerinDrawing[0];
positionto[3][1] = centerinDrawing[1] - (positionmouse[1] - centerinDrawing[1]);
positionto[3][2] = positionmouse[2];

ProGraphicsPenPosition(positionto[2]);
ProGraphicsLineDraw(positionto[3]);
}
//记得把画笔颜色改回去
status = ProGraphicsColorModify(&OrigColor, &Gray);
//这里开始绘制草绘

4.绘制草绘

上一节已经确定了中心线草绘的四个坐标,绘制草绘其实只要创建对应的Dtlentity并设定其属性即可。这里有个小技巧,需要使用ProDtlentitydataViewSet函数将草绘与视图关联,这样移动视图草绘也会跟着移动。直接给出代码:

1
2
3
4
5
6
7
8
9
10
11
12
13
14
status = ProDtlentitydataAlloc(Drawing, &edata);
status = ProCurvedataAlloc(&curve);
status = ProLinedataInit(Start, End, curve);
status = ProDtlentitydataCurveSet(edata, curve);
status = ProDtlentitydataViewSet(edata, View);

entity_color.value.type = PRO_COLOR_LETTER;
entity_color.method = PRO_COLOR_METHOD_TYPE;
status = ProDtlentitydataColorSet(edata, &entity_color);
status = ProDtlentitydataWidthSet(edata, 0);
status = ProDtlentitydataFontSet(edata, Font);

status = ProDtlentityCreate(Drawing, NULL, edata, &entity);
status = ProDtlentitydataFree(edata);

最终演示效果如下图所示:

图 演示效果

完整代码可在Github.com下载。代码在VS2010,Creo 2.0 M060 X64下编译通过。